Monday 31 March 2014

Bodium Castle as an outdoor classroom

 We were National Trust and English Heritage members long before we had the kids because it was a way of supporting our historic buildings and landscapes, experiencing beautiful gardens and experiencing history and art on many many days out all over the country.

Once we had the boys though our memberships provided us with something extra - outdoor spaces where our children could roll in the grass without rolling in dog dirt.  One of Ollie's first words was 'poo' from the unfortunately necessity of my constant 'mind the poo' as we walked the paths, parks and woods locally.  It seems to be an epidemic at the moment and it makes me really sad and angry that I can't relax while the kids  use of the many great local playing fields and outdoor spaces because of the thoughtlessness of others.

Paying out annually for memberships to the National Trust and English Heritage has therefore provided countless 'clean dirt' experiences for the kids as they climb into hollow trees, balance on logs and crawl through meadows.  These physical play opportunities are the best way for children to develop their gross motor skills and learn balance and coordination, as well as all the other opportunities for learning that they present.

 On Sunday we visited Bodium Castle, and instead of charging straight up to the Castle itself, this time we took a stroll along the country lane running near by it.  As part of our seasonal 'farm to fork' series of experiences it fitted in really well, since we could show the boys the oil seed growing in the fields, smell the flowers, watch the bees and butterflies and watch the tiny black pollen beetles hiding in the crop.  We talked about how the pollen is blown by the wind and carried by insects between the flowers and this helps the flowers to make seeds which will be crushed to produce cooking oil.

Toby was fascinated with all the insect life living amongst the crop, spending a long time watching bumble bees looking for likely nest holes in the field margins.  His favourite game was picking up stones off the traffic-free lane and throwing them into the puddles in the pot holes, another good set of activities for improving hand eye coordination and gross motor skills.
 We were all very excited to see the lizard in the hedge that stayed still for ages so we got a really good look at it.  This triggered a discussion with Ollie about how some animals like lizards and snakes are 'cold blooded' and use the heat from the sun to warm themselves up so they can move quickly.  We also took photos of butterflies so Ollie could use his book later on to find out which types they were.

Every so often we would stop and listen to the birds, watch the buzzards circle overhead, try to spot the pheasants making a commotion somewhere out of sight and look at the movement of the strange looking hoverflies with long proboscis stretched out from their heads like funny looking bees sticking their tongues out.  Talking about what we could see, hear and smell as we walked along was an excellent way to build the boys vocabularies.
 A pile of leaves in a ditch provided a lot of entertainment, moving them around, throwing them up in the air and 'feeding' the fish sculpture.  We fed ducks and watched huge carp fish in the moat, then climbed all over the amazing castle, up winding stair cases testing our bravery and building muscles in little legs.
Finally, on the way back to the car park Ollie made groups of old ladies laugh as he crawled along with a strange jerky movement while shouting out that he was being a chameleon and was camouflaged against the grass so we couldn't see him.  Toby's legs had given out by this point so he was having a nice carry from Matt and pulling faces at us.

There is a great deal to be learned about the world around us, the history and the nature, from books and TV documentaries, but for any age there is no richer experience than getting out into historic sites and drinking it all in.  It's worth repeated visits to the same site too, because both the National Trust and English Heritage frequently add in new interpretation resources and provide special events and volunteers to describe or reenact elements of history.  One of the boys favourites experiences at Bodium was last summer when they made medieaval beer bread and saw the trebuchet launching projectiles into the moat.  Don't be put off from visiting with small children and even babies, there has been a real improvement in recent years in trying to make sites more family friendly.  All in all I highly recommend a visit to your nearest historic site, just stay away from the cream teas because they're all mine!

Thursday 27 March 2014

Junk modelling

I firmly believe that every family should have, as a bare minimum, a box where they keep old clean packets and cartons, a glue stick and some sticky tape.

I think in our house I may be getting a bit over the top however, since when Matt ordered cheese triangles for Ollie's lunchbox my first thought was 'oooh those packets would make good wheels'.  The kids hated the cheese, but the round cardboard packaging it came in fired their imagination and is currently on it's way to becoming a paddling pool and sandpit for the 'Winnie the Witch' house they are making based on one of their favourite library books.

I keep any nice strong corrugated card packaging we get because it makes great bases for projects.  I stick a small square of double sided tape on each side of the boxes we're using so that when the kids stack them up how they want them they don't all fall over straight away, but are easy to pull apart if they change their mind about where they want them.  If the boxes are still a bit wobbly I give the boys strips of tape to stick the boxes together with more securely.  Once they're happy with the overall design we cover the whole lot in paper mache made by mixing PVA glue half and half with water and using this mixture to paste on any thin paper we want to use, such as newspaper, crepe paper or paper napkins.  This can then by painted or drawn on once it's dry, and other details such as feathers or sticks added.

Junk modelling is obviously a good creative activity, but it also introduces engineering ideas because children will start to observe practical considerations such as structures being more stable when the larger boxes are below the smaller ones, and lighter items could be crushed by heavier ones so it's best to put heavy things at the bottom.  When we cut a toilet roll tube to make a peaked roof we found that we had to cross brace it with tape to prevent it trying to bulge back into a round shape.

There are also good opportunities for developing vocabulary "do you want to put that box on or under this box?" helps with spacial descriptive language and you can use all sorts of descriptive language by talking about sizes, shapes, colours and textures.  By asking children where they want things and agreeing with their choices you are also building their self esteem.  It's fine to suggest alternatives "do you think that would be less wobbly if you put it there instead" but remember it is their project.  Even if you don't end up with a recognisable thing such as a car or a house, it doesn't matter because the point of the activity is the playing and learning, not the actual product.  I find this bit tricky to keep in mind because deep down I want to take over and make a house that looks like a house, but too much interference in the design is telling the children that you don't value their ideas and that they are no good, which risks them losing interest and giving up.

Safety bit: make sure old packages are clean and dry, avoid glass and anything with sharp edges.  Take care with scissors and small fingers and close attention is needed for under threes if you are building with anything that has small components such as bottle caps which could be a choking hazard.  The same goes for your finished model - if there's small bits that can be pulled off you will need to be really vigilant when littlies are about.

Tuesday 25 March 2014

Glitter bottles - quick, home made sensory toy

 Glitter bottles are very easy and inexpensive to make and make a great sensory toy.  They are especially suited for small children but can be used as a relaxation toy for any age group.  For example if you have an older child with additional needs, or a teenager who is feeling stressed, giving them one of these to play with while you're chatting to them helps to calm the mind and give the hands something to do.  You'll probably have seen them before at organised playgroups as they're a really popular DIY toy for pre-schoolers.

You will need a small, clean plastic drinks bottle, vegetable oil, water, glitter, food colouring, sticky tape and I also recommend some super glue to make everything really secure.

Half fill your drinks bottle with vegetable oil, then add a few drops of food colouring, half a teaspoon of glitter and then top most of the way up with water.  I add a little superglue to the inside of the lid and screw it down well.  Then you need to tape the lid all around to make sure the kids don't get the lid off.

Apart from the super glue, everything is safe for over threes to help with, but use your common sense in letting smaller children help since this project has some small part such as the bottle lid to watch them carefully with.

You can add in any other small waterproof items you have, such as sequins and buttons for added interest.  You may have seen similar instructions of how to make these which describe them as being like a lava lamp.  I've never found ours turn out like lava lamps, more like crazy snow globes.  They are very satisfying to play with as the contents swirl peacefully round in random cascades and whirls.

This is also a nice science exploration of the different properties of oil and water, such as density and mixing.  Children will gain more from it and play with it longer if you sit with them and help them build their descriptive vocabulary by you describing yourself what you can see and asking them descriptive questions, for example  "I think that looks like a rain storm on a mountain when you swirl it around, what do you think it looks like?", "what happens if you turn it upside down/ shake it hard, shake it slowly...".

Safety bit: there are small parts, so closely supervise children when making and playing with this.  Check regularly for damage and discard if it's looking too raggedy.  They will try to pull it apart and if you haven't got it quite right they may succeed in getting the top off, which isn't good news as the contains will stain carpets etc...plus they'll likely try to drink it, so I really mean it when I say close supervision needed. If you're using superglue, make sure you keep kids clear and use it in a well ventilated room.

Monday 24 March 2014

Farmers markets for vegetables and education

On Friday we visited a lovely farmers market that has been running in Bexhill on Friday mornings for a year now.

With the Spring underway it seems like a good time of year to think about our food 'from farm to fork' as the expression goes.  In the last week we have therefore been sowing more vegetable seeds, visited a farm to see the lambs, and also been to the farmers market to connect with home grown produce available in season.

We are incredibly lucky to be able to get a huge variety of fruits and vegetables out of season at the supermarket, but there's also something really special about exploring the seasons through the local crops available at the farmers market.  You may even be converted to liking vegetables that you previously thought were flavourless - I never much liked Kale until I tried the Kale from the farmers market, a world away from the oversized bag of  bland, tough greens I had been buying at the supermarket.

The boys enjoyed sampling the different varieties of apples, pears and cheeses before we picked which ones to buy.  The apples were a big hit, the sheep and goat cheeses less so (although I would have bought the whole cheese stall if possible because they were extraordinary - creamy and flavourful with no goaty whiff).  The boys particularly enjoyed the big sticky cherry buns from the bakery stall.  It was an opportunity for new experiences for all of us, I am slightly ashamed to say I don't think I'd ever see a goose egg until we saw them on the meat stall on Friday.  Seriously big and a bit pricey we'll try them another day when I can think of what we would do with one.

When we got home with our two big bags of fruit and veg for under a tenner, we spread our bounty out to show Matt when he came home from work.  There was rather less still there when he did arrive due to small grazers working their way through the apples and greens.  While Ollie was waiting for Matt to come home he drew a few pages with selections of fruit and vegetables on each page.  He did this with no prompting from me, which is a nice way to see that the visit to the market fired his imagination and got his creative juices flowing.

After Matt got home and we had a gorgeous lunch of fresh market stall bread and our new cheese.  Then Matt and the boys set up their own market stall on the sofa.  The kids carried the produce through to the living room in bags and baskets then laid them out.  Next I got the call that price labels were needed, so I cut some rectangles of card and supplied them along with a pen.  Matt and Ollie decided on the prices and Ollie wrote out the cards.  Some of the produce was a bargain - 2p for apples - while other items were a tad expensive - £2083 for the spinach.

I was supposed to come and shop from the market, but the boys decided to go in another direction.  They stuffed a bag each with vegetables and scarpered to the hallway to sit and munch.  What was left of the Kale made it into a yummy kedgeree cooked by Matt later on for our dinner.

Supermarket deliveries make busy lives with young families easier, but it's nice to take a morning out to make the most of the different opportunities offered by farmers markets, also a way of keeping money flowing around the local economy, supporting small businesses, keeping traditional skills alive and reducing food miles.

Thursday 20 March 2014

Celebrating the vernal equinox

It's officially Spring! We celebrated the Vernal Equinox today by planting nasturtium seeds and transferring the bean Ollie has been growing in a jar into a yoghurt pot full of soil.  It feels nice to build up our own family traditions to mark the turning point of the seasons, and sowing seeds seemed to be a really appropriate one for Spring time.

Nasturtiums are one of my favourite plants to grow with children.  They're a nice big seed that little fingers can grasp easily, need only to be poked into the earth to work their magic, plus every part of the nasturtium plant is edible, so you don't need to worry about your small people grazing on things that could harm them.  They're quite rampant though, so I may be rescuing the rosemary plant pictured in later months.

One of my very first bog posts was about growing beans in jars so your kids can watch the shoots and roots emerging from the bean.  We use broad beans at this time of year, but it works well in a few weeks time with other beans and peas such as runner beans.  The only limit on when to grow them is whether the weather is warm enough to plant them out when they're too big for your window sill.  Of course, if it's peas you're growing, you can just harvest the leaves and shoots for a yummy pea greens salad.

Weekend box review part two

 Regulars will remember I promised a part two to my review of the great pack sent to us by The Weekend Box Club last week because there was just so much to cover.  I was super excited to find that when I just Googled 'weekend box club' to check if there were any changes or updates to include on today's review that my last blog review was the second entry on the Google list!
For folks who haven't read my previous post, very briefly the Weekend Box Club is a fantastic concept for kids.  Every fortnight you get posted a box containing everything you need for four fun activities, including something to cook, something to make, something to explore and something green.  The box also contains clear instructions cards and stickers to add to each completed activity.  If you love doing fun and educational activities with your kids and are looking for an easy way to expand your repertoire, the Weekend Box Club is perfect.

Anyhow, here's how we got on with the second half of the box.  First up we tried out the Sound Explorer activity, which had a great lead in to finding out about sounds and useful literacy building activities on the information card.  There was also a web link provided to a video of possibly the coolest thing I've seen in a long time - a man using just a balloon and some straws to change his voice into a robot voice.  We had a lot of fun doing the first part of this activity and cutting straws to make reeds to blow and make funny noises.  Then Ollie got hold of the balloon and the activity changed direction as he found it was really entertaining to blow it up and then watch it whizz off.  When it whizzed down the back of the fridge we had to abandon the activity until we have a chance to restock on balloons.  If you want to see what we were trying to make it's on YouTube under 'Robot Voice Talk Box'.  For little ones the learning here is more about trying out new things, but for slightly older ones it is a great introduction into ideas about vocal cords and sound wave vibrations.

The final activity was a super cute crafting opportunity.  The objective is to make a rocking bird using card, powder paint, feathers, sugar paper and googly eyes and a glue stick, all of which are supplied in the pack.  This activity is a lovely way to let little ones create something really effective looking.  I'm a big fan of freestyle art work as a way of nurturing creative talents, but there is also a real sense of achievement to be gained from learning how to follow simple instructions so that your creation looks a lot like the one in the example.  Ollie did all the elements for this activity himself, selecting a round shape to draw around that fit on the card supplied, mixing the paint, painting in the circle and so on.  The only bit he didn't do was cutting out the circle since his cutting is more enthusiastic than accurate at the moment.  Making his bird was a good way for Ollie to work on hand-eye co-ordination, fine motor skills and his listening and comprehension skills.  In cutting up the paper for the tail plumes it also gave him a chance to use his scissors, always a big hit.  I liked watching how he extended the activity to paint a nest for the bird to sit in too.

We had some paper and paint left over from making the bird, including the paper envelope that the materials came in, so we teamed them up with a paper plate to make something else.  Ollie decided to paint the sea using his left over poster paint.  I cut out some fish for him from the paper envelope.  Ollie cut more spare sugar paper strips to make sea week, stuck it all on and drew eyes, smiley mouths and bubbles on.  I then told him the letters he needed to write the word 'sea' into the biggest bubble at his request.

One of the things I love about the Weekend Box Club is that as well as being 100% re-usable or recyclable, and made from 95% recycled materials, each activity lends itself to being extended using the child's own imagination and the materials provided can often be used again.  For example we have used the coins provided in the Pot 'o gold activity to play treasure maps as well as repeating the original activity several times.

If anyone wants to try a first box for free, visit https://www.weekendboxclub.com/ and enter the promotional code  MARIANNE59

Monday 17 March 2014

I'm in the Green Parent Magazine this month

If you want to read a really great uplifting, good value magazine for parents, I don't think you can beat the Green Parent.  It's bimonthly, available by subscription and in major chains such as Sainsbury and WHSmith.

I'm really pleased to have an article featured in the current issue - pages 40 to 42 and am looking forward to reading the rest of the great contributions, craft ideas and product reviews.  I like being able to treat myself to a magazine that I can read from cover to cover that's not just endless pages of sick-looking models pushing expensive buggies and exhorting me to spend £80 on a changing bag.

I love seeing the viewing figures on this blog and reading the lovely comments on the blog and on my personal FB page, as well as hearing in person from friends who have tried out activities I've featured, but it's still cool holding something printed in my hands that I've written.  So thank you to all the folks reading this who have given me the confidence to do the whole freelance writing thing xxx

Learning and fun with the Weekend Box Club

 We were really excited to receive a revolutionary new concept in children's activities to review this week.  The Weekend Box Club was developed by what may be the most awesome Uncle ever.  Unable to find gifts for his niece and nephew that were fun and educational, creative, non-gimmicky and not plastic trash, he quit his job and developed this brilliant club.  Every fortnight you get a box containing everything you need for something to cook, something to explore, something to make and something green.  I found it incredibly helpful that even though it contains loads of things, the box is designed to fit through a standard letterbox so we didn't have the hassle of having to trek across town to the mail collection office if we weren't in when it was delivered.  I had intended to review the whole box today, but we found there was so much to do I am going to break it down into two activities per post.  Since it is St Patrick's Day today, I'm going to cover the Pot 'o gold game and the green pancake kit.

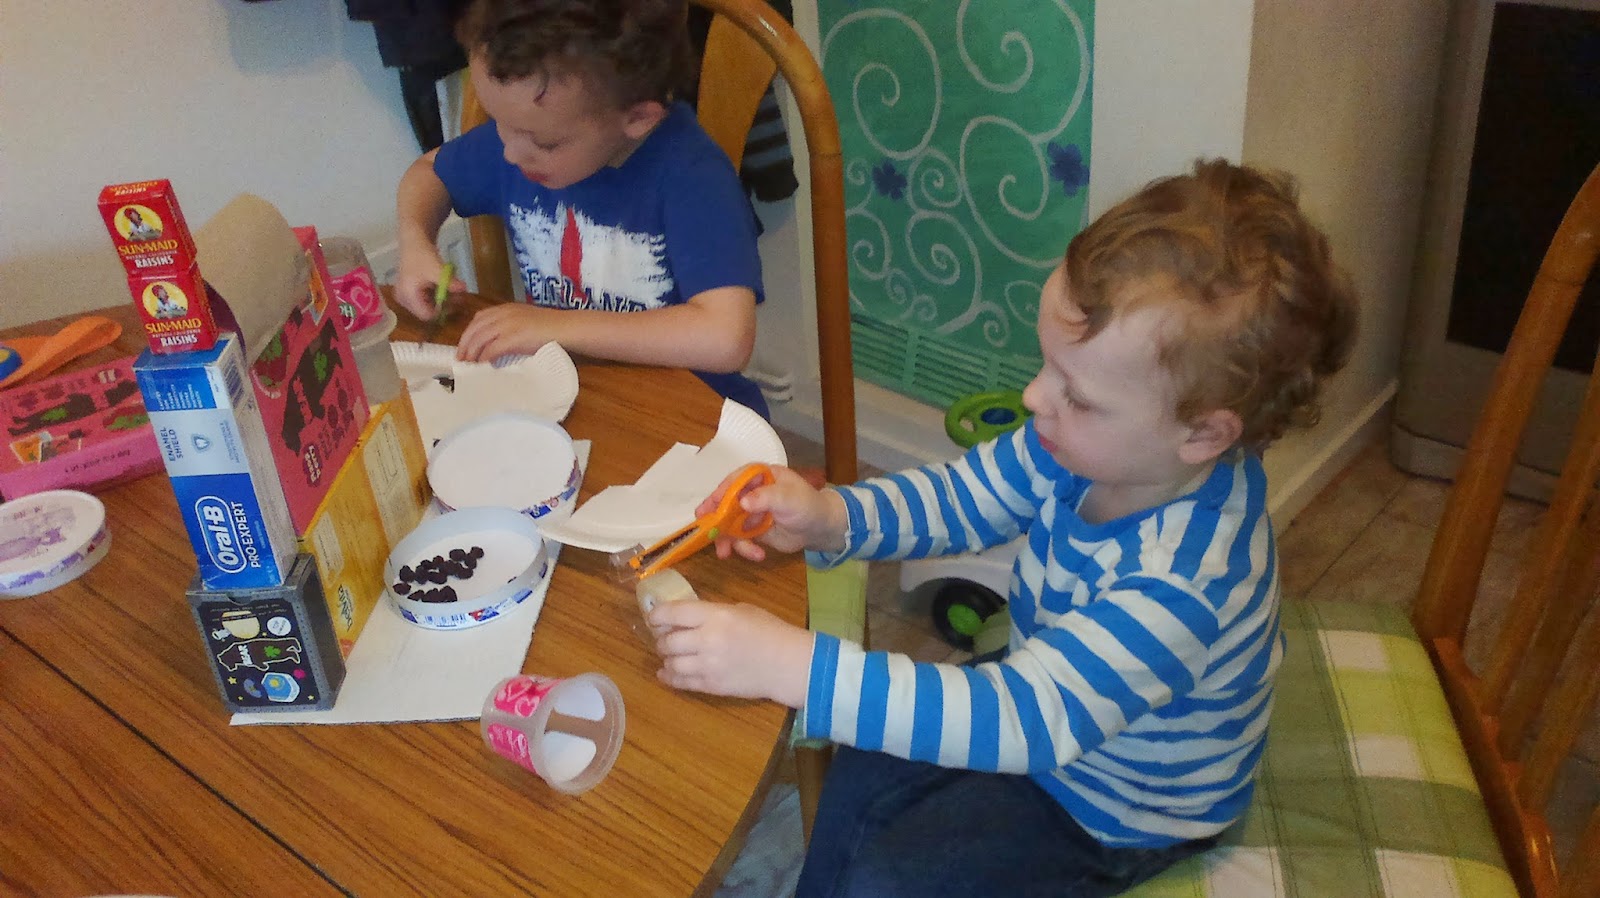
Ollie woke up with a fever on Friday morning, so having a mysterious paper envelope to open which turned out to contain plastic gold coins and pipe cleaners in rainbow colours really cheered him up.  Each activity comes with a double-sided card with clear instructions and background information, plus a sticker to attach to the card when you've completed it.  For the Pot o' gold game all we needed to add to the materials sent was a cup to construct our rainbow in.  I really like this kind of activity because it is deceptively simple but has a range of learning outcomes, some of which are mentioned on the instructions card.  We used it to revisit the colours of the rainbow, which Ollie knows because I've always sung the rainbow song using the real colour spectrum instead of the traditional words.  Ollie never heard of Leprechauns though so this was a great opportunity to introduce that mythology to him.  The time suggested on the card was 25 minutes, but we probably spent a lot longer with it on and off because both boys had such fun throwing coins into the mug, tipping them out and remaking the rainbow.  Toby particularly laughed his head off throwing the coins.  We had a delay for a while when he got possessive of the coins and took some persuasion to share them.

The game comes with six coins, so we had a great opportunity to use some basic maths skills as Ollie shared out coins between himself and his brother, or all three of us.

All this fun wore out poorly Ollie, so we had a gap before trying out the next activity while Toby looked after him.

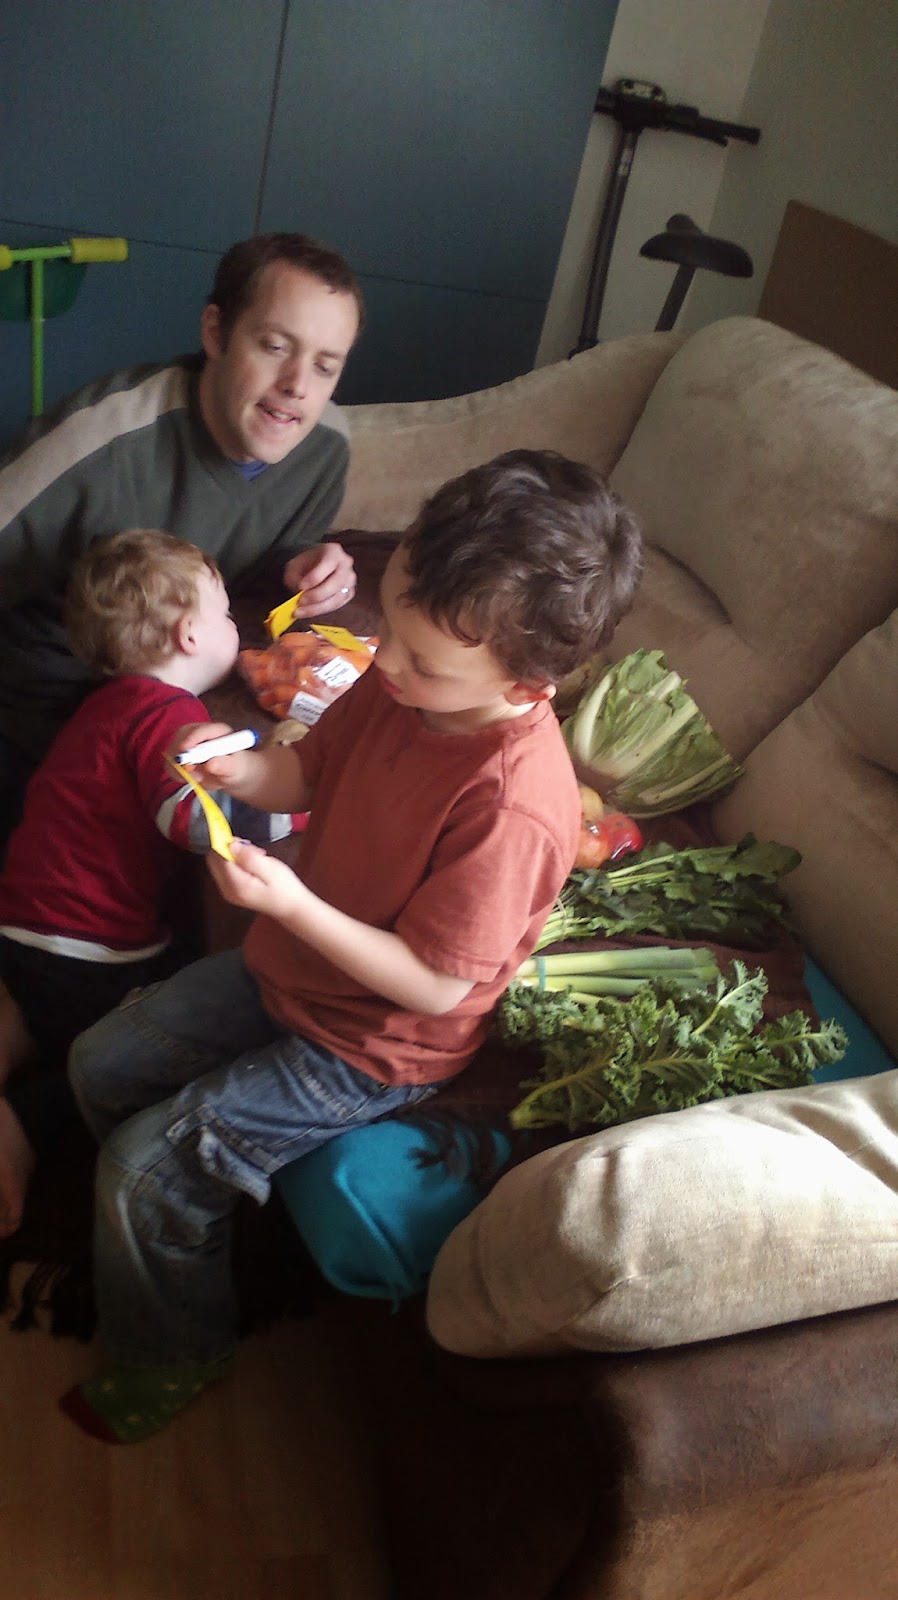
 The following evening Ollie was well enough to get out of bed and do the next activity from our box - making green pancakes.  I had been itching to try this one as the spices supplied in the box were making the whole kitchen smell delicious.  For this activity we again had a clear instruction card.  Apart from some help in reading the instruction and an adult to cook the pancakes on the hob, the activity was something Ollie could manage by himself so he got a real sense of achievement that he had cooked our whole dinner.

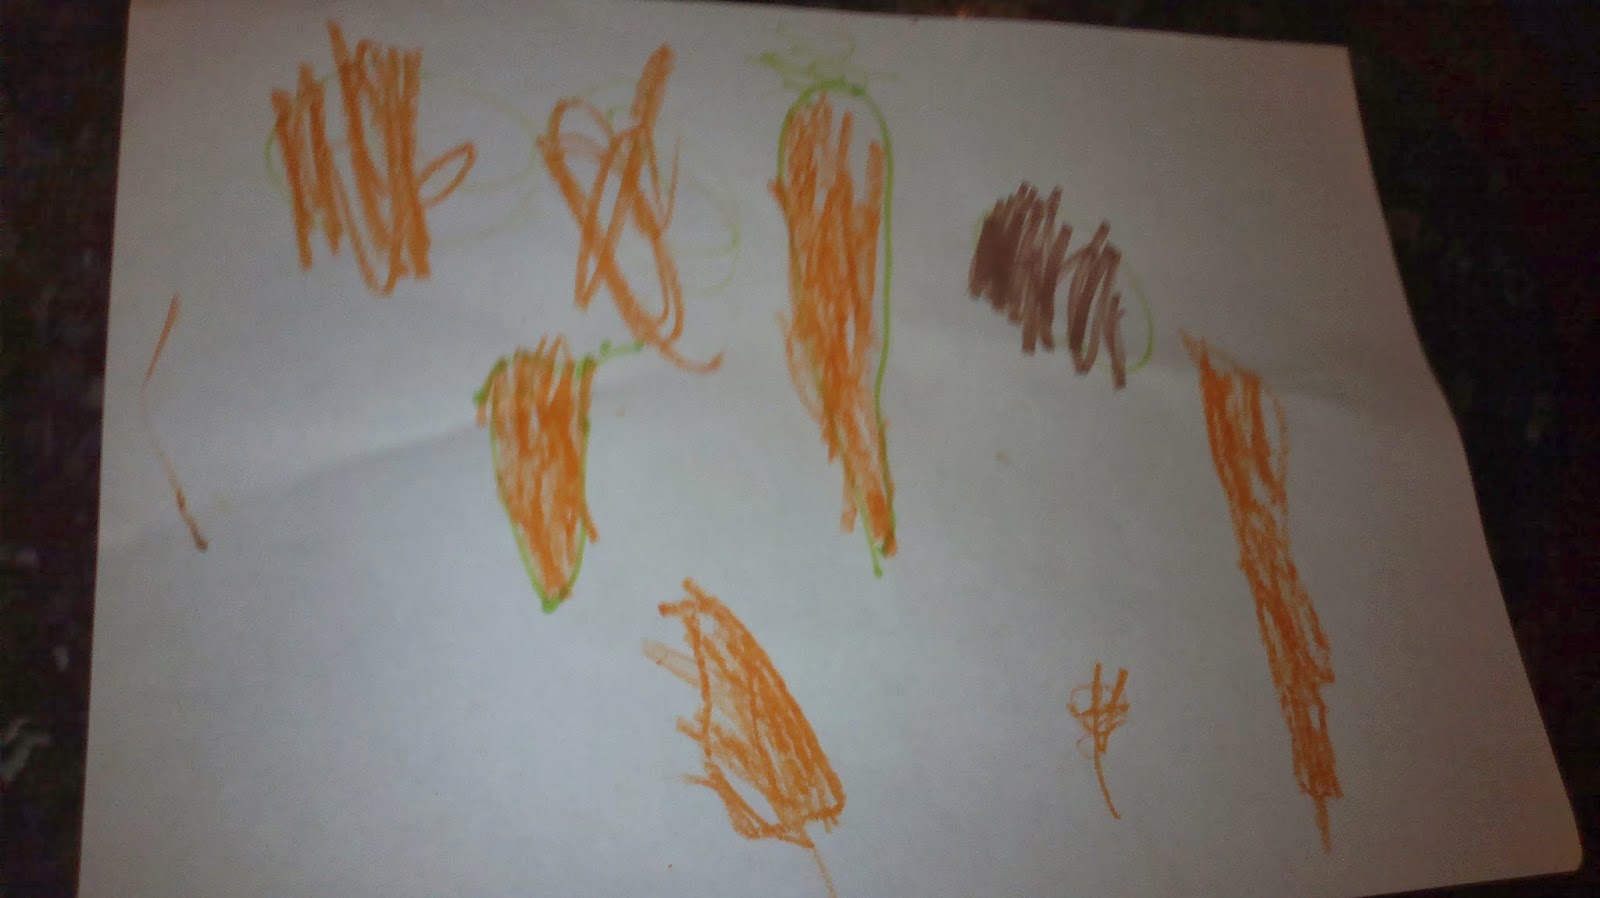
Our result didn't look like the ones on the picture supplied, but we're used to that with our cooking.  Ollie really enjoyed weighing out the ingredients using the scales because he can now read the weight he needs to measure from the instructions and look at the display on the scales to match the numbers.  He also grated up all the cheese without grating his fingers, broke the egg without getting any shell in the mix and added the flour without it going everywhere.  He got a bit distracted adding the paprika and trying to watch Matt and Toby making a cake, but most of it ended up in the bowl.

Activities like this are fantastic for building children's self esteem and also getting them to try new ingredients if they're going through a fussy stage.  It's not foolproof, but kids will tend to eat anything they've cooked themselves.

We have two further activities to describe in the next post, which have been great fun, including making a robot voice box and a rocking bird.  The boxes cost £7.50 each, which I think represents really good value both for the items sent (which have even included the glue stick we needed for the rocking bird) and for the thought that has gone in to each activity.  Some items such as the spices have obviously been used up, but others such as the coins and pipe cleaners will be used over and over.  The boxes are delivered fortnightly which also makes them more affordable, and with four activities in each box there is enough to do to last two weekends.

The boxes are designed for three to eight year olds, but with caution and close supervision when using the small objects such as the coins we have found that Toby has had lots of opportunities to get involved too.  I would recommend opening the box and having a look through before you intend to let the kids loose on it if your children are at the impatient younger end of the scale so you can get in any bits and pieces you need that couldn't be supplied for practical reasons, such as the spinach and egg for our pancake recipe.  The eco-credential are really good - 100% of the contents are re-usable or recyclable, and 95% comes from recycled materials.

If anyone reading this (in the UK only I believe, my apologies to all my lovely readers around the world) wants to get their first box for free, pop along to the website www.weekendboxclub.com  and enter the promo code MARIANNE59

NB we received the box for free to review, but all opinions and photos of cheeky children are my own.
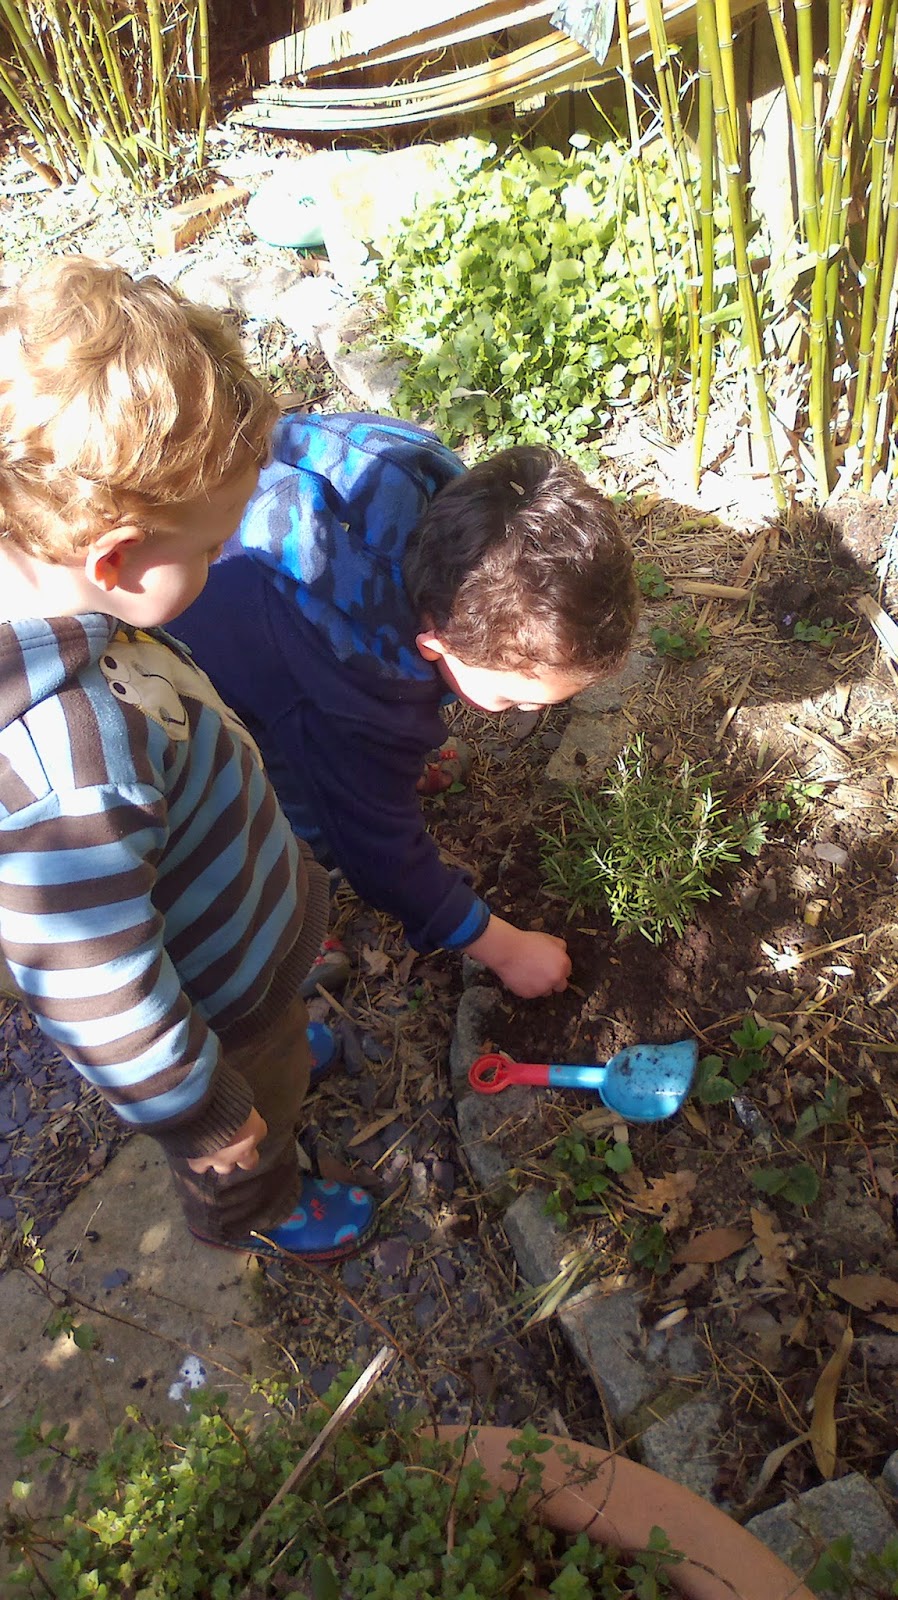
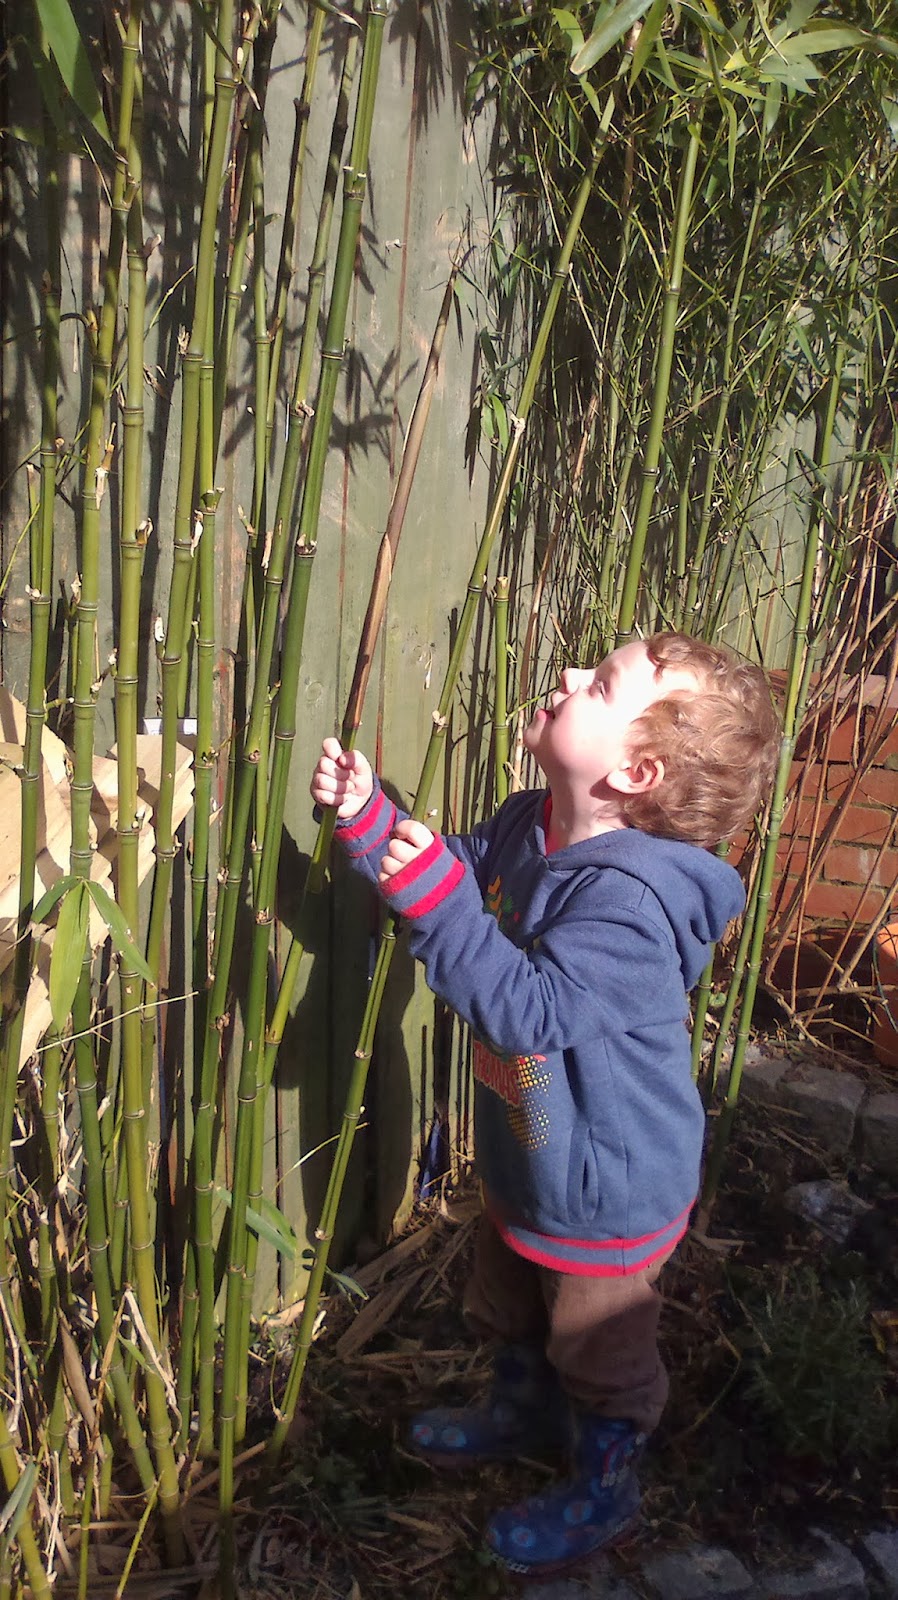
Tuesday 11 March 2014

Blists Hill Victorian Village


I missed posting for Silent Sunday this week because we were at Blists Hill Victorian Village near Ironbridge, but here's the photo I would have posted if I had my computer with me.

Friday 7 March 2014

Following their lead - the importance of underscheduling

Earlier on this week I had a newsletter editorial meeting that lasted all morning, during which Toby very patiently played with his toys, occasionally brought us things and was beautifully behaved when he joined us for tea and scones.  Ollie was at nursery so when the meeting was over I thought it would be a great opportunity to spend some real quality time doing the things that Toby wanted to do.

How often do we get a chance, or the will, to follow our child's lead for any real length of time?  Life with kids can become
a hectic race from one planned activity to the next, with unscheduled time being mostly taken up with chores.  I make a conscious effort to take time out to spend time sitting on the floor playing with the boys through the day, but I have to admit that it often isn't for very long stretches as I notice more jobs that need to be done from my new vantage point on the floor.  Some days we seem to be in constant transit, from nursery drop off, to playgroup, to grocery shopping, back to nursery to pick up Ollie, home to play for 10 minutes before starting dinner, then dishes, bath time, stories, singing and bed.  This must be even more pronounced for parents with kids in school every day, or who work outside the home, or who schedule every free minute with ballet, music, swimming etc...  Yet despite the advantages we want to confer on our children from having a broad curriculum of activities and playgroups, we don't do them any developmental favours by over-scheduling our time with them.

 By engaging in the play that they choose, we are encouraging our children's creative play and emotional intelligence.  By taking even  fifteen minutes out in between activities to play the way your child wants to, you are validating the importance of their opinions and wishes.  Letting children know that their decisions matter to you and putting them in the role of leader builds self confidence that helps them to be emotionally open but also resilient as they grow.  Conversely, bouncing constantly from one thing to the next can leave everyone physically and emotionally drained and lead to increased stress all round.

The kids love their playgroups and activities, but the most I hear Toby laugh out loud is when I'm laughing along with the things he's doing spontaneously.  So that day we spent the afternoon playing for a long long time with his train track, clipping his colouring pens end on end and tapping them on the stairgate until they flew apart over and over, throwing the pens up into the air and laughing as they crashed on the floor over and over, playing outside in the yard shaking the bamboos, moving pebbles around and drawing on
the patio with chalk for almost an hour.  In between these I flew through the necessary chores such as getting laundry and dishes done, but the focus was very much on Toby.

The confidence they gain from this approach really pays off when they go out into the world one their own.  Ollie's key worker at nursery wrote in his home journal this week that he had built a big castle out of wooden blocks and when another child knocked it down Ollie said 'it's OK, I can just build it again'.  She seemed surprised at how relaxed he was about it.  This kind of relaxed attitude to the incident didn't happen overnight or come naturally to Ollie.  It would previously have provoked a storm of grief stricken tears.  The development to a more relaxed attitude happened because of the time we sit down with the boys to play and model good play etiquette - when something goes wrong and one of them is upset we give cuddles and explain that it's OK to feel upset, but that the problem can be fixed.  We don't get angry and tell the child that caused the problem off, instead we ask that they give a cuddle and say sorry that it happened, and we say 'It's OK, we can build that again/fix that/make a new one'.  It's those time when we can really focus on what the kids are doing that we can head off trouble as it starts and give the boys the emotional and verbal tools to deal with problems when we're not around. Hopefully then when they play with each other and other kids without us, they know how to react to accidents and upsets without getting angry or upset, because we have modeled a better way for them to follow.

It doesn't always work, sometimes they're tired, or we're tired, and everyone gets grouchy with each other, but I firmly believe that taking time out to do the things they want us to do builds a good relationship all round and makes us closer and happier.  So next time you're sat on the floor drinking the 80th cup of pretend tea or that endless game of hide and seek when they 'hide' in exactly the same place each time, you can give yourself a pat on the back that this is just as vital for them as any of the organised classes and play dates you might decide to take them to.

Tuesday 4 March 2014

10 minute experiment - Milky bubbles

Ollie asked to do some science experiments yesterday.  In addition to doing some experiments that I've given details of in older posts (such as playing with adding bicarbonate of soda to vinegar, planting beans in a jar and making shaving foam clouds) I thought this new experiment would be good fun.

All you need are a cup, a straw, milk and a couple of ingredients to add to it - we used a popular brand of blackcurrant squash and drinking chocolate powder.

The idea is to blow bubbles in plain milk and compare the result with what happens if you add different things to the milk. 

Toby didn't get the idea of blowing bubbles until the third experiment - the plain milk and blackcurrant squash milk both got drunk while he looked confused about why Ollie was getting bubbles and he wasn't.  After we cleared up from the blackcurrant phase and got fresh milk with a little drinking chocolate powder added Toby got the hang of it and blew plenty of bubbles for himself.

For each phase, you can introduce the basic scientific practice of making predictions and then testing them.  Simple questioning like 'we saw that you could blow bubbles in the milk, but they went away really quickly.  What do you think might happen if we add blackcurrant squash' gets kids thinking about cause and effect.  They will start to suggest further experiments you can do adding different ingredients, giving you an opportunity to help them think in terms of practicality and safety - 'yes it would be interesting to see if adding soap will make brilliant bubbles, but do you think your little brother might drink it?' in our case.

For really little ones like Toby, it's all about experiencing what happens when you do different things without predicting.  Even if they drink every sample, it is just as exciting doing a taste experiment.  For slightly older pre-schoolers like Ollie getting used to the idea of making predictions and trying things out is good fun.  Ollie enjoyed adding a picture to his science notebook of all the bubbles coming out of his cup. Keeping a little journal of experiments is a good way to play at being a scientist keeping notes and you can encourage detailed observation skills by getting children to draw what equipment they used and what happened.  Initially you can write down their description, trying to use their words and drawing them into thinking about what you did together.  As they get older they will be able to take over on labelling their diagrams and eventually writing it all, which you may want to support by using a writing frame.  These are really simple to make - just draw boxes on a page and give each one a heading e.g. 'What we used', 'what I thought would happen' and 'picture of what happened' initially.  Kids who are struggling or not ready for writing can draw diagrams under each heading which you could label for them.

 For older children, you could use this as a part of an investigation into bubbles generally, describing concepts such as surface tension and air pressure and how certain substances such as soap affect the surface tension of water.  The Massachusetts Institute of Technology has a nice detailed page with videos for older kids or for your own interest.

Health and safety bit: as usual, apply common sense.  You know best your own child's development stage and ability - if you think they're going to stick it straight up their nose, don't give them a straw.  I haven't tried this with dairy alternatives, but that would be an interesting experiment in itself.  I used blackcurrant squash and drinking chocolate in very small amounts, but because they're both high in sugar I wouldn't recommend adding them to your kids milk as a regular thing.  You can get sugar free versions but I suspect feeding sweeteners containing known carcinogens to our children is something that as a population we're going to look back on in the future with horror.