
Finding hand tools was tough (in the case of hand drills, they aren't stocked by either Wickes or B&Q) and the wood needed wasn't found, so a truly awful piece of MDF substituted for it, but the kids were pleased with their haul of carpentry essentials. They had fun drawing out the design onto the wood and spent a couple of hours out in the shed creating the box which was to be Ollie's. They duly painted it his favourite colour and I varnished it for them.
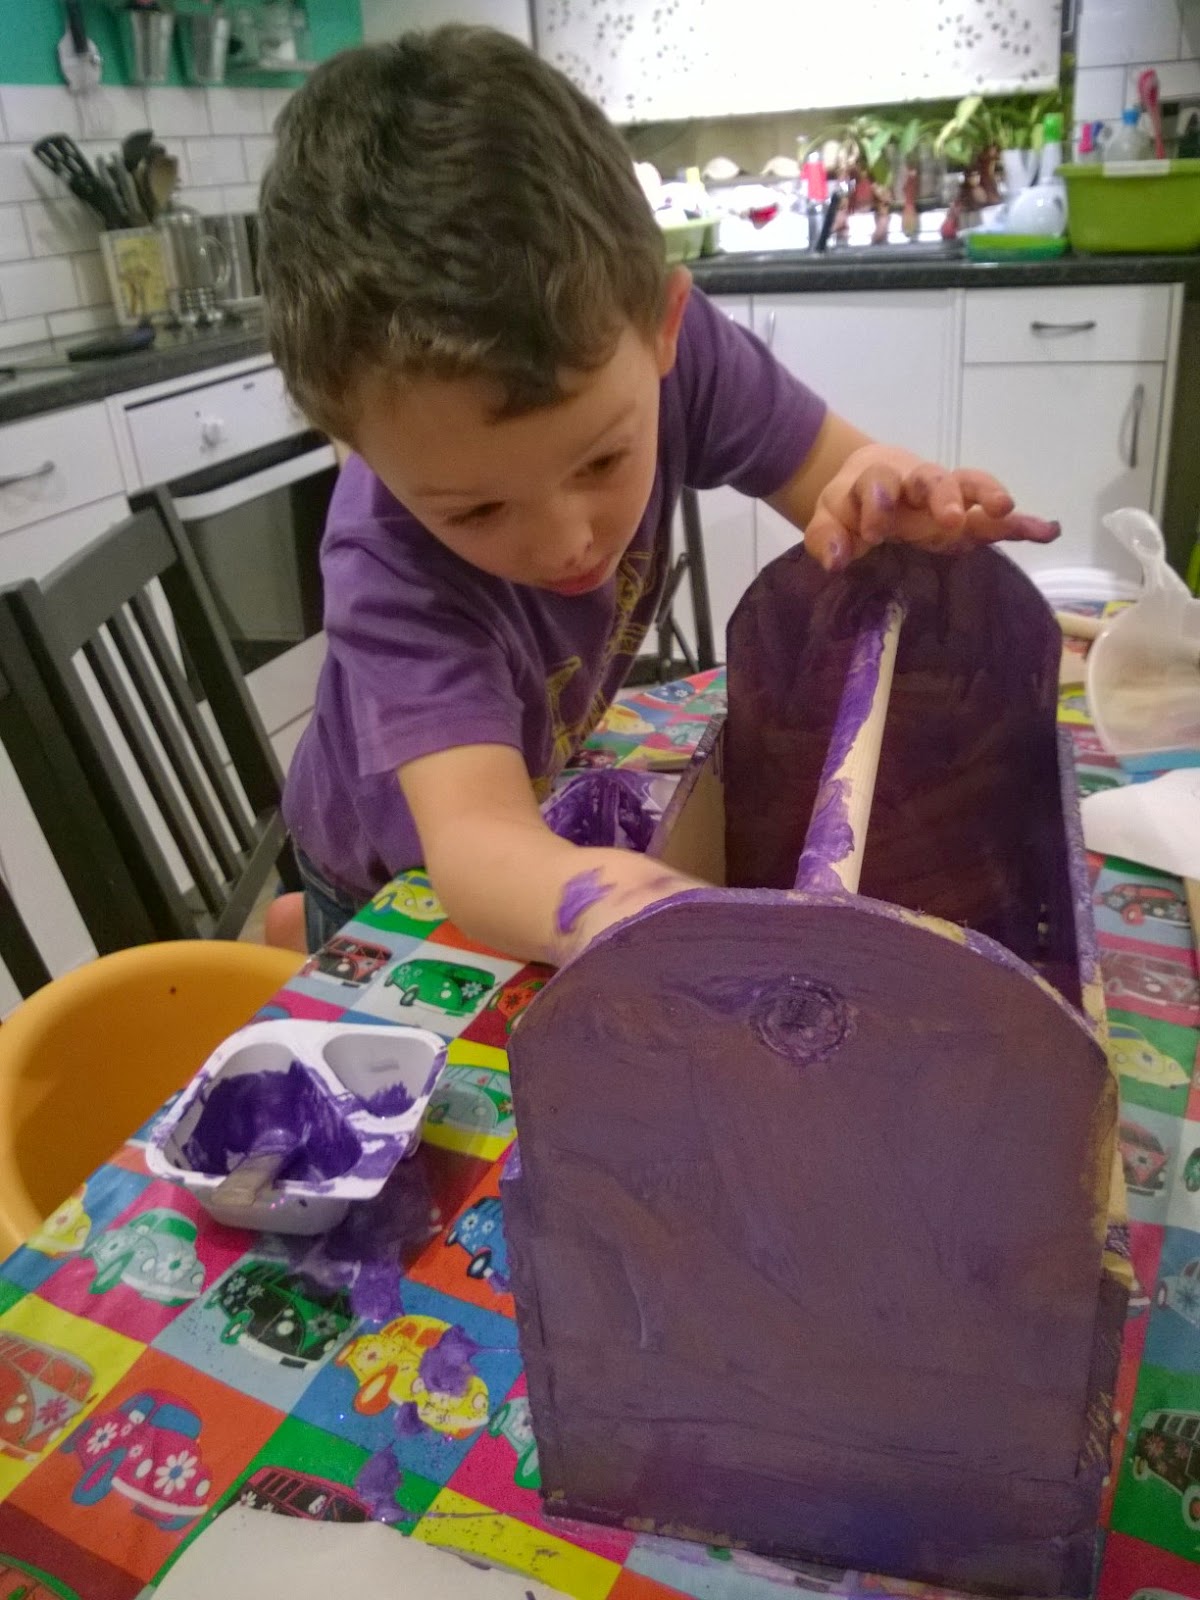 Next it was the turn of Toby's toolbox, which Toby and Ollie helped me make yesterday. In typically different approaches to things, rather than using the lovely plan they had created and measuring it out, I opted for the quicker option of drawing round things and hoping for the best. Surprisingly the result isn't much different from the boys first box, and they certainly had a lot of fun making it, and then painting it Toby's favourite colour (he's recently graduated from pink to purple, which caused him a lot of debate when choosing the watch he wanted for Christmas - a pink one with a rainbow on it, or a purple one with a butterfly. He eventually went for the butterfly). I also opted for a different approach to the boys first toolbox and did everything in the kitchen, where it was warm, bright and close to the coffee pot and the radio.
What I was really impressed with was how helpful the kids were, especially when in both cases one of them knew the finished product was not for them. Ollie persisted and completed painting the box after Toby had lost interest (and started gluing glitter to a piece of paper). Ollie also took the dustpan and brush and cleaned up the sawdust without being asked, and both took turns in handing me nails and using the hammer and saw without squabbling. They even filed the rough edges off the shapes without filing the kitchen furniture or each other. Those of you with daughters may not understand how surprising these things are to a parent of small boys.
A seasoned carpenter would laugh at our wonky efforts, but it's more than just a finished product that the boys are proud of (and me too - it's a long time since I built something that wasn't flat packed). The kids enjoyed the long period of sustained attention to something for them and with them, the shared goal of producing something together and the opportunity to take time to make a gift for each other. Of all the bits and pieces they have asked for this Christmas (watches, extra train track, torches) I think it will be these gifts to each other that will mean the most to them.
Safety bit: use your best judgement about when your kids are ready for using sharp tools, do it with extreme and constant supervision and read safety info on paints and varnishes. Keep tools well out of reach/locked up when not in use if there is any chance your kids will go looking for them to do a little unsupervised DIY of their own. We painted with kids ready-made poster paint (mixed with PVA glue for the first coat), and I followed the instructions on the varnish and applied it in a well ventilated space, using gloves and well away from the kids.
No comments:
Post a Comment